
The image will be placed on the page. You may have to resize the picture to fit.
Select the image. Eight handles will appear around the edge of the text box, and one green colored handle will appear above the center top handle. The eight handles attached to the box allow you to change the size of the box. The green handle lets you rotate the box.
With images it is always best to use the handles at the corners. This will keep the image in the proper ratio when you resize it.
Using the Online Pictures Button
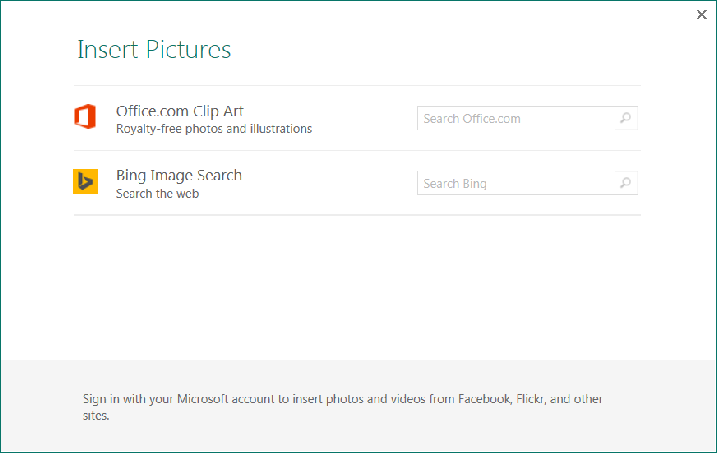
When you click on the Online Pictures button the following window will open.
In this dialog box you have two selections;
Office.com Clip Art -
Bing Image Search -
Either selection uses a key word search to find images for you. If you type sail boat into the Office.com Clip Art search box and hit the search button, a list of images appears showing sail boats.
Inserting Images
Images can come from two sources, pictures you have on your computer and pictures found on the World Wide Web. There are two buttons on the Insert tab for inserting images. The Pictures button is for inserting images found on your compter the Online Pictures lets you access image found on the WWW.
When you click on the Pictures button, the Insert Picture dialog box will appear.
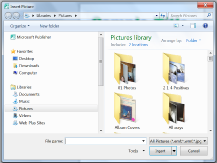
This dialog box opens in the Pictures folder. From there you can open other folder to locate the pictures you want to insert. When you have selected the picture click on the Insert button. The picture will appear on the page.
You can them select it and resize it to work with the rest of the elements on the page.
Snipping Tool
Windows 7/8.1 comes with an application called the Snipping tool. Before you open the Snipping tool make sure you are on the window you want to snip something out of. To open the Snipping tool
Click on Start.
Click on All Programs
Click on Accessories
Click on Snipping too.
The snipping tool will open and all of the screen around it will go gray.
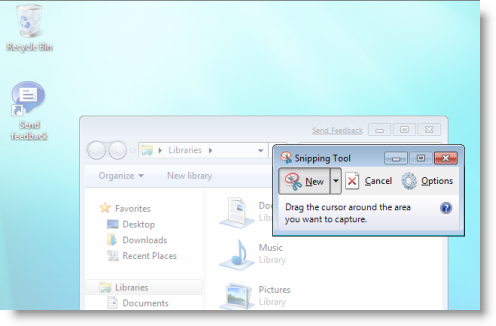
The directions tell you to drag the cursor around the area you want to capture
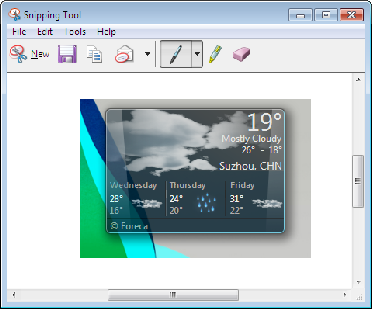
After you capture the image the snipping tool will show the image you have captured.
To place it into the publication click on the copy button.
Go to the page you are working on and use the Ctrl+C key combination to insert the image into your page.
Date modified 10-

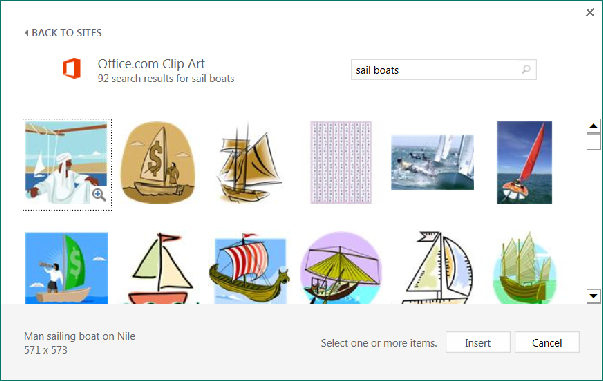
You then select the image you want to use and click on the Insert key.
If you type sail boat into the Bing Image Search search box and hit the search button, a list of images appears showing sail boats found on the World Wide Web.
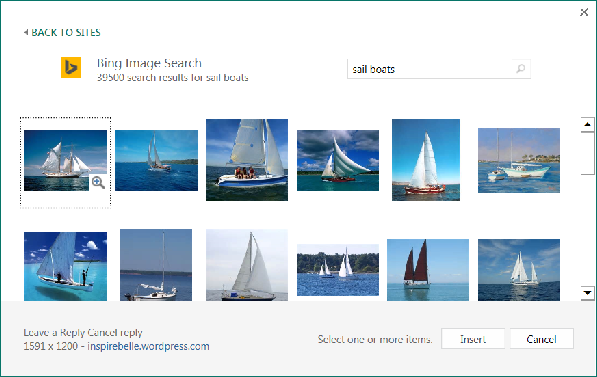
You then select the image you want to use and click on the Insert key.
| CIS 112 Home Page |
| CIS 114 Home Page |
| CIS 147 Home Page |
| CIs 215 Home Page |
| CIS 221 Home Page |
| CIS 230 Home Page |
| CIS 112 Class Calendar |
| Using the D2L Dropbox System |
| Educational Goals and Objectives |
| Projects |
| Using the D2L System |
| Project 3 Excel |
| Project 4 Working with Images |
| Project 5 Creating a Slide Presentation |
| Project 6 Creating a Publication |
| Project 8 Making a Movie |
| Adding Information to a Cell |
| Using Formulas |
| Formattin the Spreadsheet |
| Project 3 Excel Spreadshett |
| Introduction to Publisher |
| Working with Word Art |
| Creating Text Boxes |
| Inserting Images |
| WindowsMovieMaker |
| CIS 114 Calendar |
| Basic Pacasa Manual |
| Class Projects |
| Working with Folders |
| Renaming a File |
| Copying and Moving Picture Files |
| Organizing Pictures |
| Cropping PIctures |
| Lesson 1 Introduction to Web Plus X6 |
| Lesson 2 Working with Text |
| Lesson 3 Images |
| Lesson 4 Hyperlinks |
| Lesson 5 Final Project |
| Saving and Opening Documents |
| Using the D2L Dropbox System |
| Introduction to WebPlus X6 |
| Setting Up For Publishing |
| Publishing Your Web Site |
| Creating a New Web Site |
| Working With Text |
| Project 2 Text |
| Sample Text Page |
| Saving Image from a Web Page |
| Saving Images from a Image Search |
| Project 3 Images |
| Image Sample Page |
| Project 4 Navigation |
| Hyperlink Example Home Page |
| External Web Pages |
| Personal Photos |
| Contacting Me |
| Lesson 1 Digital Data |
| Lesson 2 Text |
| Lesson 3 Graphics |
| Lesson 4 Sound |
| Lesson 5 Video |
| Sample Text Page |
| CIS 221 Day Calendar |
| Accessing the D2L System |
| Using the D2L Dropbox System |
| Using the Snipping Tool |
| CIS 230 Day Class Calendar |
| Introduction to Publisher |
| Working with Word Art |
| Creating Text Boxes |
| Inserting Images |