
Creating Hyperlinks
WebPlus provides a wide and very flexible range of hyperlink options. This means easy navigation for your site's visitors— and possibly a more efficient visit if your site includes large pictures.
In this tutorial, you’ll learn how to:
- Create text objects and import pictures.
- Create anchors.
- Create and edit hyperlinks.
- Create self-
linking picture hyperlinks.
Before you begin to create hyperlinks, you will create the Web page for the Tutorial.
1 Open WebPlus, or if WebPlus is already running, choose File, then Startup Wizard.
2. In the Startup Wizard select Start New Site.
3. Before proceeding, click File, then Save, and save the file as Creating Hyperlinks.
4 Select the Artistic Text tool and drag the mouse cursor until the text size is approximately 50 points—as you drag, watch the Hintline to see the text size.
5 Write Link Page as the title for your page and place the text near the upper-
6 We're about to work with some smaller text objects, so you may want to zoom in
a little now. Create a mid-
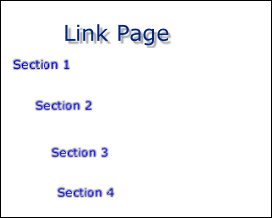
7 Hold down the Ctrl key, then click and drag the text object down about 1 inch. Release the mouse button to drop a copy of the text object on your page.
8. Repeat the previous step twice to create a total of four text objects. Edit the text objects so that they read Section 1, Section 2, Section 3, and Section 4.
At the right is a example of how the page should look when completed
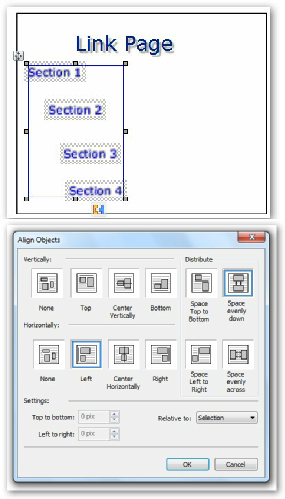
9 Click on a blank area of the page so you have no objects selected. Now click and drag your mouse diagonally across the objects and release the mouse button.
The rectangular selection box encompasses them all of the object as shown at the right.
10. Right-
11. In the Align Objects dialog:
- In the Distribute section, choose Space evenly down(vertical).
- In the Horizontally section, choose Left.
- Click OK.
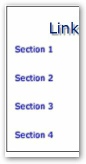
When alignment is complete the text should be aligned as in the example at the right.
Click here to go on to the next section that will explain how to create anchor hyperlinks.

Date modified 01-