| CIS 147 Lesson 3 Project 6 Part 2: Inserting Graphics into Web Pages |
In this project you will create Web pages and insert graphics on to those pages. In addition you will learn how to make a graphic a link to another internal page in your web site and to other external Web sites.
Adding an Image to a Web Page
To add an image to a web page do the following;
1. Make sure you have saved the page before you insert any images.
2. Make sure that the blinking cursor (insertion point) is where the image is to be placed on the page.
3. Click on the Image Button

4. The following dialog box will appear;
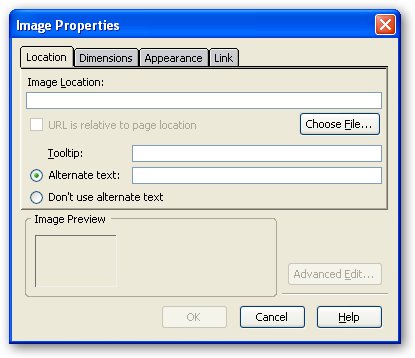
5. Click on Choose File…, the following dialog box will appear;
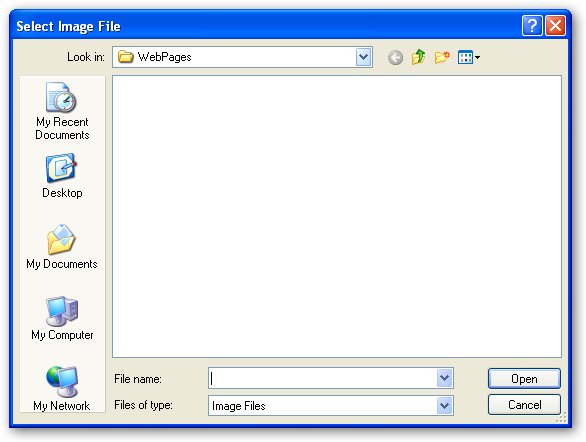
6. Open the Graphics folder inside of your Web site folder CIS147WebSite. You will see the graphics that you have downloaded from the WWW or the photos you have placed in there.
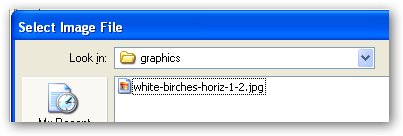
7. Select the file you want to place on your web page and click on Open.
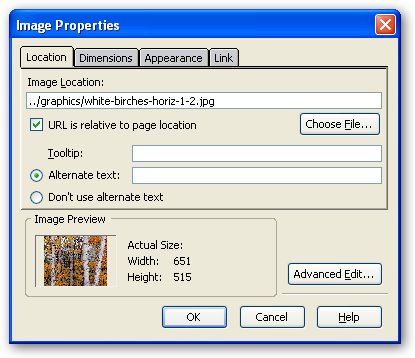
Note that the box below Image Location has the folder and the file in it.
Important; if in the Image Location box you see file///C:/WebSit/WebPages you have not saved the Web page before you inserted the image. You will have to cancel the insertion, save the file and start over.
Also notice that there is a preview of the Image.
9. The Alternative text item is selected. Alternative test appears when you move your mouse over an image, it is also used by sight impaired individuals who have systems that read Web pages.
10. Add an alternative text to the box that is descriptive of the image.
11. Click OK, the image will appear on your Web pages.
Working With Graphics on Web Pages
It is easy to insert graphics into a Web page, it is harder to combine graphics and text on a Web page.
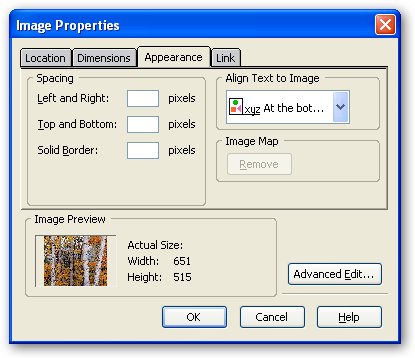
There are a number of ways to align text and graphics on a web page. To access text alignment, right click on the graphic select Image Properties for the list and select the Appearance tab in the Image Properties dialog box. The Image Properties dialog box will look like the one below.
Click on the down arrow in the box Align Text to Image. The following list will appear.
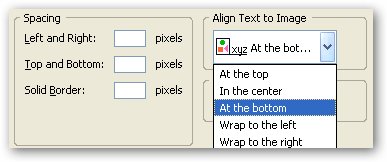
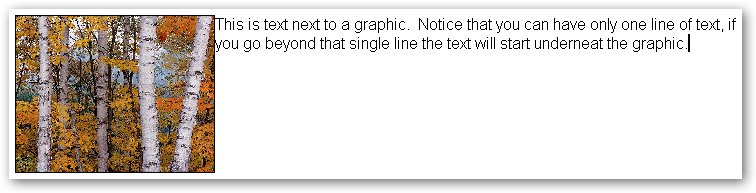
Below is the result of choosing the different alignments.
At the top

In the center

At the bottom

Wrap to left

Wrap to right
Make sure that you test your alignments in a browser before you publish your site to the server. To do this save the page, click on browse and then the Launch Application button.
Resizing a Graphic.
You can resize a graphic by right clicking on the graphic and choose Image Properties. Select the Dimensions tab you will see the following;
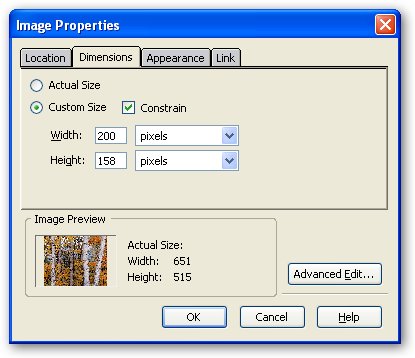
Select the Custom Size option.
Make sure that Constrain is checked.
Enter either a new with or height. When you enter one the other number will change. This is because you have constrained the image which means that it will stay in the same proportions as the original.
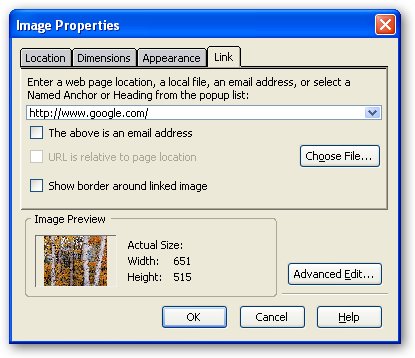
Making An Image A Link
To make an image a link do the following;
1. Save the page.
2. Highlight the image.
3. Click on the Link button the following dialog box will appear.
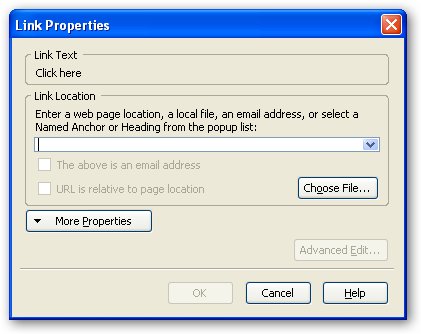
4. In the Link Properties dialog box press the Choose File button, the following dialog box will open.
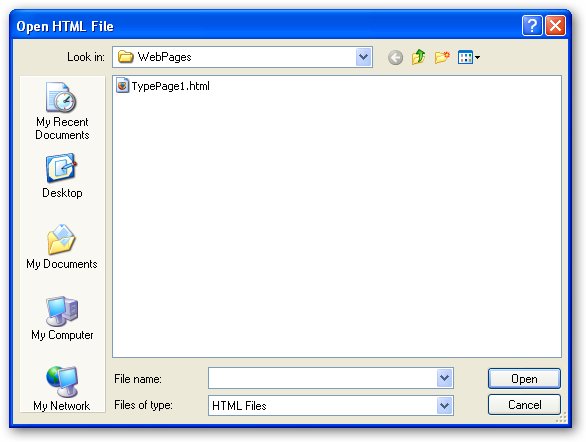
5. Choose the Web page you want to link to in your Web site.
6. Press the Open button, the Link Properties dialog box will open.
Note: In the Link Location box you should see something like WebPages/TypePage1.html. If you see something like file///C:/WebSit/WebPages/TypePage1.html you have not saved the web page before you created the link. This link will work when you test it locally but will not work when you transfer the file to the remote site. To correct this you must start the process of creating the link over and save the file before you create the link.
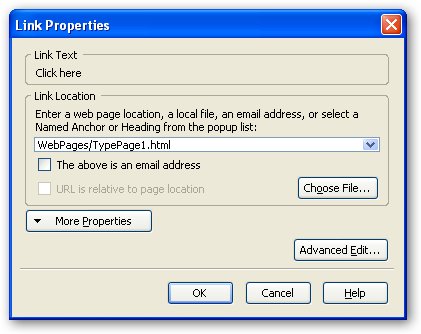
7. Press OK on the Link Properties dialog box.
8. Save the Page.
Click somewhere else on the page and note that the there is no direct indication that the graphic is a link. You should indicate with text that the graphic is a link.
To test this link click on the Browse button, the following dialog box will appear and when Launch Application becomes active press the button.
When the browser starts the Web page will appear, test the link to make sure it works.
Creating A Link to a Page at a Different Web Site
Use the following directions to create a link to a Web page on a different Web site;
1. Find the Web page you want to link to in a Web browser.
2. Highlight the address and press the Ctrl and C key, this will copy the address to the Windows clipboard.

3. Click on the image you want the link attached to.
4. Click on the Link button.
5. Click in the box below Enter a web page location.
6. Press the Ctrl and V keys, this will paste the web address into the box
7. Click OK
8. Test the link.
Project 6
In this project you will work with text and graphics on web pages.
Create the following pages
| Page Name | File Name |
| Image Page 1 | ImagePage1 |
| Image Page 2 | ImagePage2 |
| Image Page 3 | ImagePage3 |
| Image Page 4 | ImagePage4 |
Page links
Make sure that you indicate in text what the image links do.
On the home page create a link using an image (button) to Image Page 1(ImagePage1)
On Image Page 1 create the following links all using images (buttons)
A link to Image Page 2 (imagepage2)
A link to Image Page 3 (imagepage3)
A link to Image Page 4 (imagepage4)
A link to the home page (index)
On Image Page 2
A link to Image Page 1 (imagepage1)
A link to the Home Page (index)
On Image Page 3
A link to Image Page 1 (imagepage1)
A link to the Home Page (index)
On Image Page 4
A link to Image Page 1 (imagepage1)
A link to the Home Page (index)
Design of Image pages
On Image Page 1
Create a pleasing design that incorporates a word banner at the top.
A layout for the image links and text that accompanies each link.
On Image Page 2
Design a page that combines text and graphics to describe an event.
On Image Page 3
Design a page that combines text and graphics to explain how to do a process.
On Image Page 4
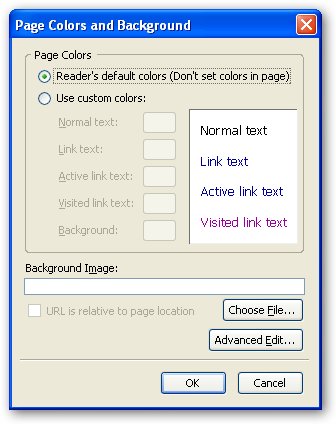
Incorporate a background graphic into the page. To do this;
1. Click on the Format menu and from the list select Page Colors and Backgrounds the following dialog box will appear
2. Click on Choose File….
3. Navigate to the Graphic folder and select a background image you downloaded from the internet.
4. Click Open
5. Click OK
The background will appear on the web page.
Add text and graphics to the page, make sure that the text and graphics stand out from the background.
When you have finished this part and published all of the pages send and e-mail me to grade Project 6. The subject for the e-mail should be Finished Project 6 (your name).
![]() Return to Home Page
Return to Home Page